How to Embroider a Sweatshirt: Hand & Machine Guide
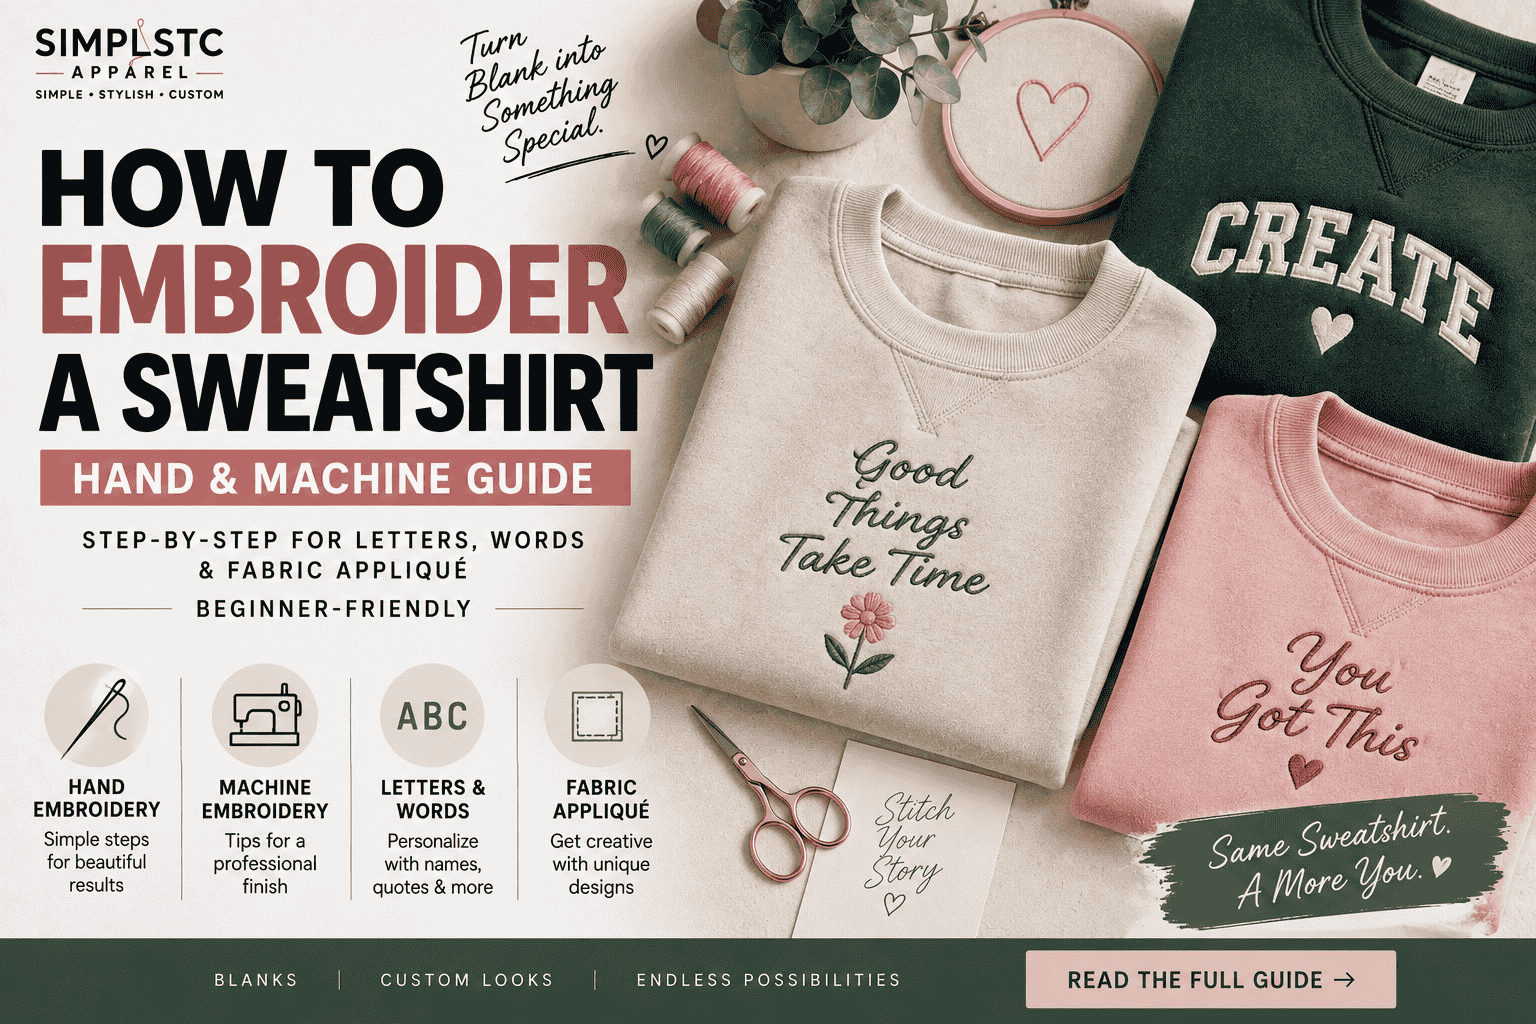
Step-by-Step for Letters, Words & Fabric Appliqué | Beginner-Friendly
A plain sweatshirt is basically a blank canvas — and once you know how to embroider a sweatshirt, you can turn any blank into a custom piece with a name, a word, a monogram, or a full design. This guide walks through both major approaches — hand embroidery and machine embroidery — plus the specific techniques for lettering and fabric letter appliqué, so you can pick the method that actually fits your project and skill level.
Whether you're stitching your first initial by hand or setting up a machine run for the first time, everything below is written to get you from blank sweatshirt to finished piece without guessing.
What You'll Need Before You Start
The exact supply list depends on whether you're going hand or machine, but a few things are non-negotiable either way.
-
A sweatshirt — cotton or cotton-blend fleece holds stitches better than slick synthetic fabric. Browse our crewneck and hooded sweatshirts if you need a blank to practice on.
-
Stabilizer — this goes underneath the fabric while you stitch and keeps fleece from puckering or stretching out of shape. Skipping this step is the single most common beginner mistake.
-
An embroidery hoop — holds the fabric taut so your stitches stay even, whether you're working by hand or feeding fabric through a machine.
-
Embroidery thread or floss — for hand work, standard six-strand embroidery floss. For machine work, polyester or rayon embroidery thread designed for machine tension.
-
A design or template — printed out, traced, or digitized depending on your method (covered below).
How to Hand Embroider a Sweatshirt
Hand embroidery is the most accessible way to get started — no machine required, and you can do it with a small kit at your kitchen table. Here's exactly how to embroider a sweatshirt by hand, start to finish.
Step 1: Hoop the Fabric with Stabilizer
Layer a piece of cut-away or iron-on stabilizer against the inside of the sweatshirt where your design will go, then stretch both layers into the embroidery hoop together. The fabric should be drum-tight — loose fabric is the number one cause of puckered, uneven stitching.
Step 2: Transfer Your Design
Use a water-soluble fabric pen or transfer paper to trace your design directly onto the fabric. For simple text or shapes, freehand sketching with a fabric pencil works fine too — the marks wash out or fade after stitching.
Step 3: Learn the Core Stitches
You only need a handful of stitches to hand-embroider most designs:
-
Backstitch — clean, continuous lines. The default choice for outlining letters and shapes.
-
Satin stitch — tightly packed parallel stitches that fill in solid shapes completely, like a filled-in letter or a small icon.
-
Split stitch — similar to backstitch but slightly textured, good for lettering with a bit more visual interest.
-
French knot — small raised dots, useful for accents like eyes on a design or dotting an "i."
Step 4: Stitch the Design
Work slowly and keep your tension consistent — pulling too tight will pucker the fleece, while too loose leaves loopy, uneven stitches. For lettering specifically, stitch one full letter at a time rather than jumping around the design, so spacing stays even.
Step 5: Remove the Hoop and Finish
Once stitching is complete, carefully remove the fabric from the hoop, trim away any excess cut-away stabilizer close to the stitches, and press the piece from the back with a warm iron over a pressing cloth to smooth out hoop marks.
How to Embroider a Sweatshirt Without a Machine
If you're specifically looking for how to embroider a sweatshirt without a machine, the hand embroidery process above is exactly that — no equipment beyond a hoop, needle, and thread. It takes longer than machine work, but for a single custom piece, a monogram, or a small design, hand embroidery is often the more practical choice anyway.
How to Embroider a Sweatshirt with a Machine
Machine embroidery is faster, more consistent, and better suited to detailed designs or multiple pieces. Here's how to embroider a sweatshirt with a machine, covering the core workflow.
Step 1: Digitize or Choose a Design File
Machine embroidery runs off a digital stitch file, not a plain image — either purchase a pre-digitized design file in your machine's format, or use digitizing software to convert artwork into a stitch pattern the machine can read.
Step 2: Hoop with the Right Stabilizer
Machine embroidery generally needs a sturdier stabilizer than hand work, since the machine applies more tension and moves faster. A medium-weight cut-away stabilizer is the standard choice for fleece sweatshirts.
Step 3: Load the Design and Set Thread
Load your stitch file into the machine, thread it with the correct weight embroidery thread (most machine embroidery runs on 40-weight polyester or rayon), and confirm the hoop is positioned exactly where you want the design centered.
Step 4: Run the Machine and Monitor It
Start the machine and watch the first few stitches closely — this is when thread breaks, tension issues, or misalignment show up. Most machines pause automatically for thread color changes on multi-color designs.
Step 5: Trim and Finish
Once the machine finishes, trim any jump stitches (the loose threads between design elements), remove the excess stabilizer from the back, and give the piece a light press if needed.
How to Hand Embroider Letters on a Sweatshirt
Lettering is one of the most requested embroidery projects, and it has a few tricks specific to it. Here's how to hand embroider letters on a sweatshirt cleanly.
-
Choose a simple, rounded font for hand embroidery — intricate serif fonts are genuinely difficult to stitch cleanly by hand.
-
Trace the full word or phrase before starting, so spacing and letter size stay consistent across the whole design.
-
Use backstitch for a clean outlined look, or satin stitch for bold, filled-in letters.
-
Keep letter height consistent — even a slight size mismatch between letters is noticeable once the piece is finished.
The same fundamentals apply to how to embroider words on a sweatshirt more broadly — plan the full layout first, stitch letter by letter rather than word by word, and keep spacing between letters even throughout.
How to Embroider Fabric Letters on a Sweatshirt
This is a different technique from stitched lettering — fabric letters are pre-cut felt or fabric letter shapes that get appliquéd (attached) onto the sweatshirt rather than stitched from scratch. Here's how it works.
1. Cut or purchase pre-cut fabric letters in your chosen font and size.
2. Position the letters on the sweatshirt and pin or use fabric glue to hold them in place temporarily.
3. Stitch around the edge of each letter using a straight stitch or a zigzag/satin stitch by hand or machine to secure it permanently.
4. Trim any loose threads and press the finished piece from the back.
This method is faster than stitching full letters from scratch and gives a raised, textured look that reads differently from flat embroidered lettering — a good option if you want dimension without the time investment of full hand-stitched letters.
Common Mistakes to Avoid
-
Skipping stabilizer — this is the top cause of puckered, warped designs on stretchy fleece.
-
Hooping fabric too loosely — always pull it drum-tight before stitching.
-
Using the wrong needle — a ballpoint or embroidery needle glides through knit fleece better than a sharp needle, which can snag the fabric.
-
Rushing lettering spacing — uneven letter spacing is one of the most noticeable finishing mistakes on a lettering project.
When to Let a Professional Handle It
DIY embroidery is genuinely rewarding for a single piece or a small personal project. But once you're outfitting a team, ordering matching pieces for an event, or need consistent results across a dozen or more sweatshirts, professional embroidery services make a lot more sense than hand-stitching each one.
Simplstc Apparel offers embroidery, screen printing, and DTF printing on blank sweatshirts from 12 pieces with no setup fee — no machine to buy, no digitizing to learn, and consistent results across every piece in the order.
Frequently Asked Questions
Can you embroider a sweatshirt without a machine?
Yes, hand embroidery works well on sweatshirts and requires no equipment beyond a hoop, needle, thread, and stabilizer.
What stabilizer is best for embroidering fleece sweatshirts?
A medium-weight cut-away stabilizer works best for fleece, since it provides enough support to prevent puckering during and after stitching.
What is the easiest embroidery stitch for beginners?
Backstitch is the most beginner-friendly stitch for outlining letters and shapes, while satin stitch is best for filling in solid areas.
How do I keep letter spacing even when embroidering words?
Trace the full word before stitching so you can plan spacing in advance, and stitch one letter at a time rather than jumping between letters.
What's the difference between embroidered letters and fabric letters?
Embroidered letters are stitched entirely from thread, while fabric letters are pre-cut fabric shapes attached to the sweatshirt with stitching around the edges — a faster, more textured alternative.
Is machine embroidery better than hand embroidery for sweatshirts?
Machine embroidery is faster and more consistent for detailed designs or multiple pieces, while hand embroidery is more accessible for single, simple projects.
Final Thoughts
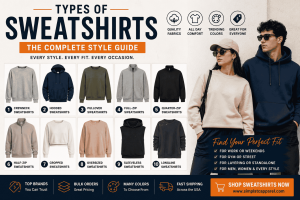
Now that you know how to embroider a sweatshirt — by hand, by machine, in letters, or with fabric appliqué — the only thing left is picking a blank and getting started. Explore our full wholesale sweatshirts collection for blanks in every construction, including pullover, full-zip, quarter-zip, cropped, oversized, french-terry, and tri-blend styles.
And if you'd rather skip the hooping and stitching altogether, our embroidery services team can handle it for you — from a single custom piece to a full team order.
Need Help?
Get in touch with our experts.